Friday 30 November 2012

Roman Cement


Roman Cement 

Before the widespread use of Portland cement ,exteriors were often rendered with Roman cement. Although a variety of products were used,they were essentially what we would today call hydraulic limes .It would probably be classified as an NHL 5 or "eminently hydraulic lime."This may be a little problematic since this was the 19th century, when many small companies made different products under the heading of cement The classifications were not so clear and the products not so  controlled.

I do recall when I was working as a young plasterer in the late 1970s we worked on facades in Maida Vale in Central London and none of the plasterers knew how to repair the mouldings .One older Irish plasterer, who was still working in his eighties managed to make the repairs (really easily as I remember, much to the delight of us youngsters as we teased the other more experienced men for weeks) Mack the older man. explained to me that the original work was done with Roman cement and he said he remembered it being delivered in small barrels He said you could always recognise it since it was brown /red, I wished I had listened .

Roman cement was used with aggregate to run mouldings, render facades and for castings. The material is particularly useful for casting, since it sets quickly but it needs some preparation for rendering.There are modern versions available from companies in France and a lot of great work has been done in both production and application of  Roman cement in Poland.

Roman cement bracket
mould for bracket


Case mould for bracket


Roman cement used for pilasters
Peckham South East London

Detail of Roman cement
 note the poor
state of the OPC repair 

Facade finished with Roman cement
Peckham South East London


Ashlar jointing or blocking out


Detail of Rustication 


Detail of ashlar jointing


Textured hydraulic lime 


Saturday 24 November 2012

External Cement Render


External Cement Render 8-16 Nov 2012

This is a house in suburban South East london.The existing work was a hard sand and cement render finished in a rough "Cottage look "which had cracked and had poor repairs so needed renovating.

I would liked to have removed the existing render and replaced it with a lime render.It has often occoured to me that many of the so called cottage finished renders found in the suburbs were infact originally a wet dash or (harling if you are from the north.) and you can get a nice look with this lime based finish definately worth exploring if you get the chance

The problem with this work was that we thought that if we started knocking the existing render about too much it was so hard it would cause major structural damage to the outer skin of brickwork .So it was decided that we would try to cover the poor render and secure the house as well as provide a decent finish surface to paint on

Firstly we made a sand /cement mix with an adhesive to which we added a crack resistant fibre into that we laid reinforcing mesh.When that was dry, we applied a floating /plain faced render finish.

After we had finished this I applied a white finish coat to the apex at the front of the house. I made up the mix to be applied over a floated background to give a good through coloured finish to external render, not only to save painting but also to make it easier to get that smooth clean finish that is quite difficult to achive when you are under pressure when "rubbing up"

Existing render


Covering existing render


Reinforcing mesh


Scratch coat applied


Plain faced render finish applied to front of
 building


Render ready for paint or/top coat


Apex floated ready for white top coat


Top coat applied and finished


Apex finished with white top coat render


Saturday 17 November 2012

Insulating with lime plaster


Insulating external walls using fibreboard ,hemp plaster and lime finish plaster.A complete insulation system

The rest of the room had existing lime plaster which was in poor decorative condition. Rather than remove the basically sound lime plaster we patched some areas with lime mortar, applied a breathable priming plaster that I have developed  and then skimmed the whole area using lime finished plaster.This saves the existing lime plasterwork leaving a beautiful, breathable finish and not costing a fortune


Private house Central London
Phil Bailey
07787157865


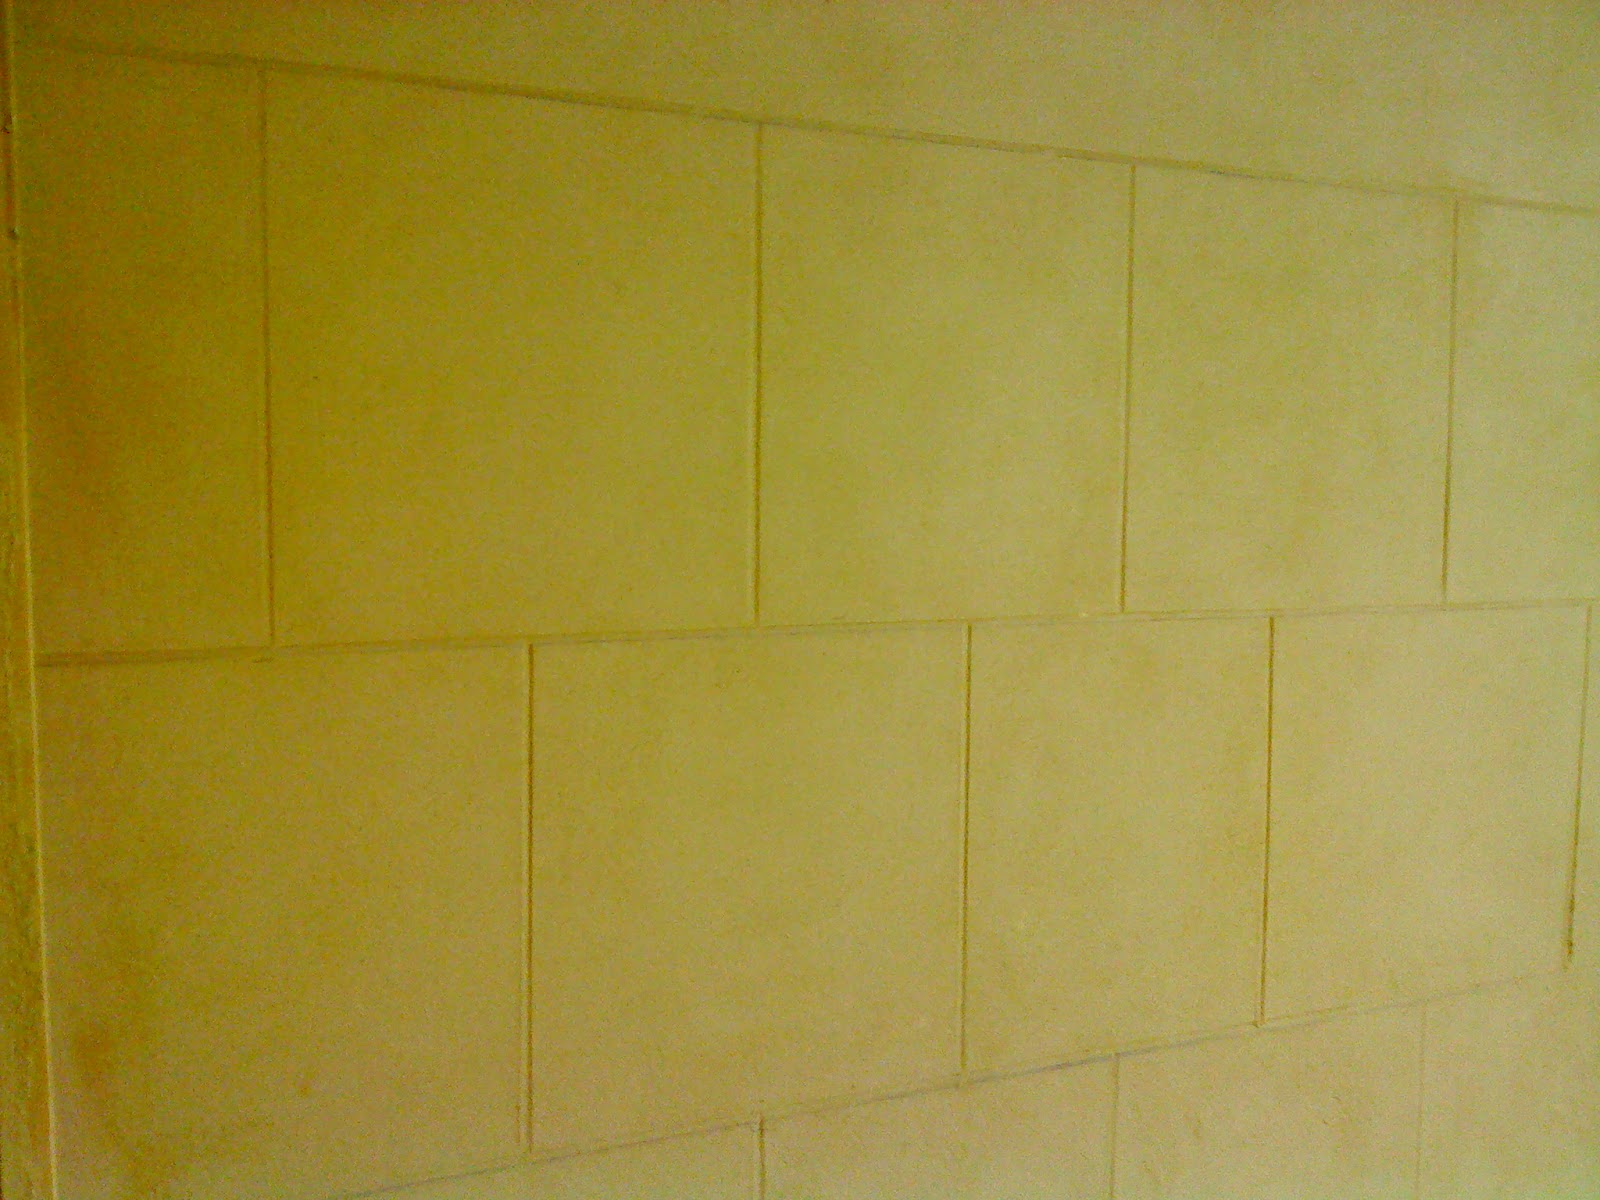
Firstly we floated the fibreboard using lime plaster containing hemp for insulation  


Wall floated ready for lime finish


 finish coat applied and trowelled to a smooth finish 


Finished work


wall finished ready for painting


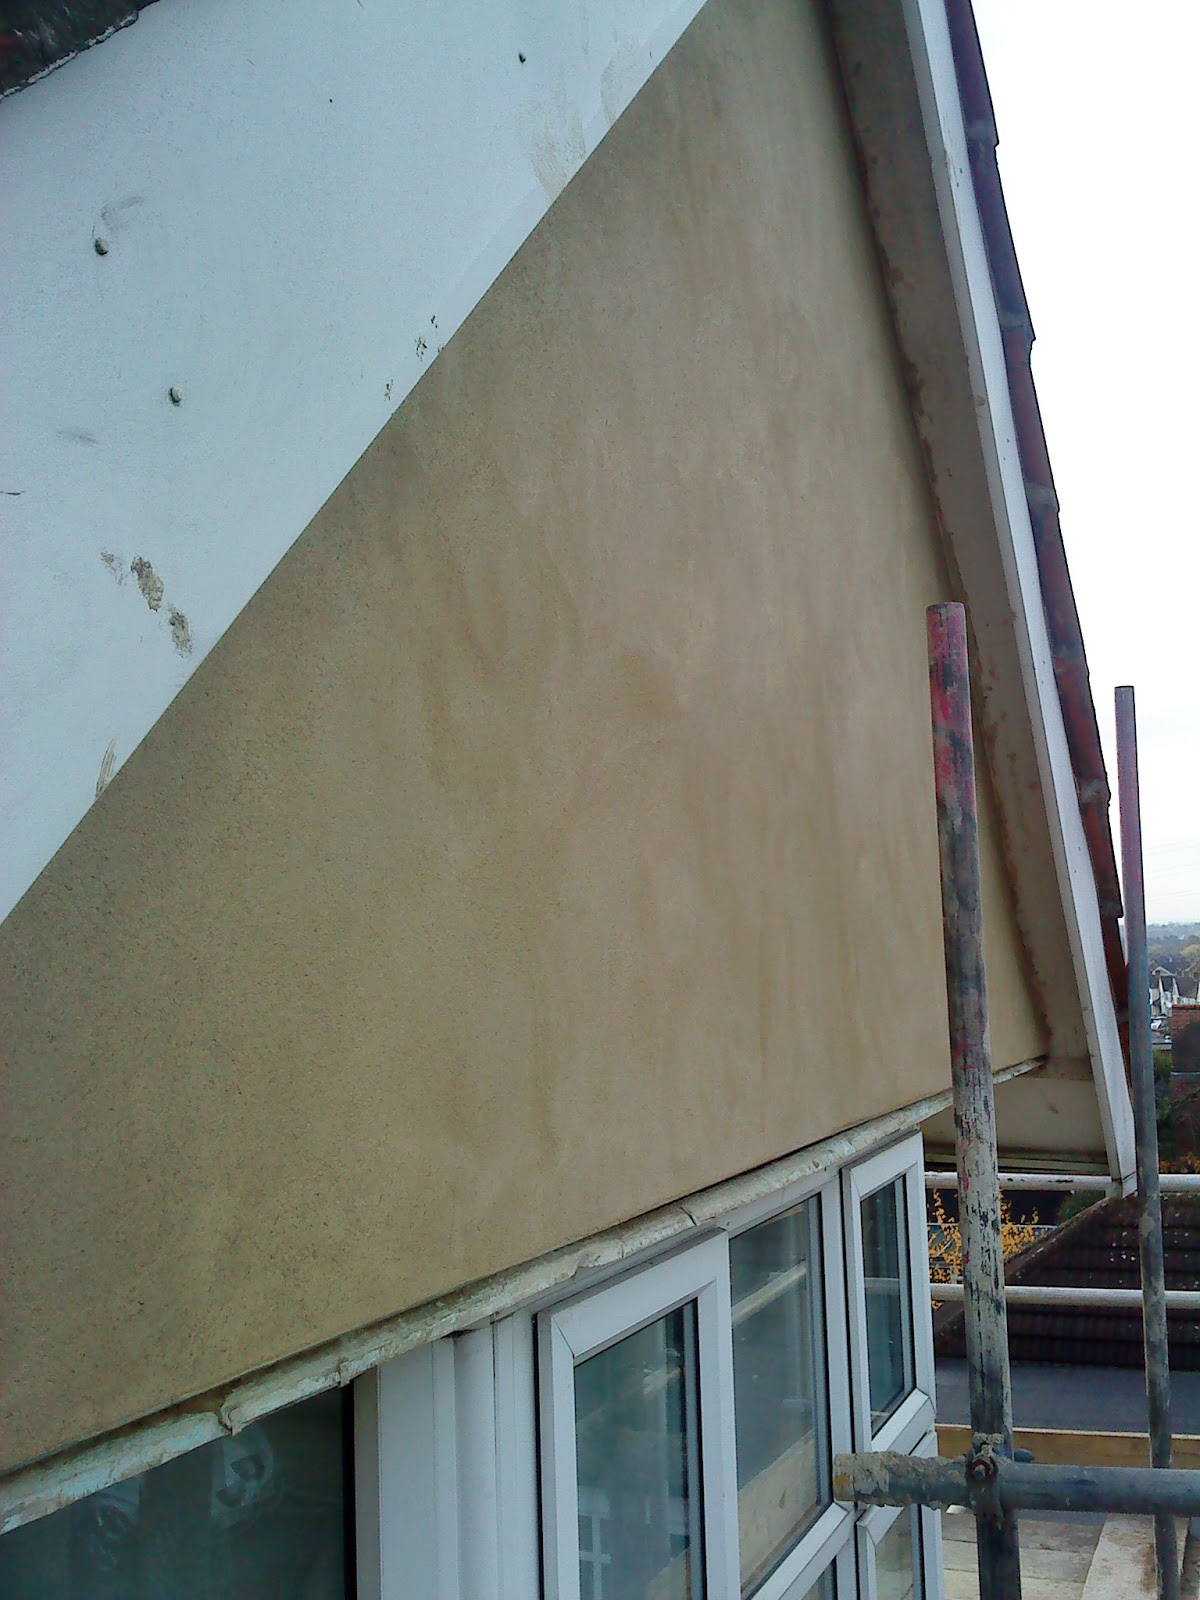
Fibreboard with hemp lime floating coat


Insulation fibreboard


Fibreboard


Floating coat


Before and after patching and skimming existing lime


patching lime plaster
skimming with lime plaster