Thursday 24 October 2013

Spectaular Venacular


Adventures in the Norfolk Countryside 

Over the last couple of weeks I have been working with Maltby Plasterers in the beautiful Norfolk countryside.Maltbys are the father and son team of Bruce and Luke Maltby, lime plasterers who specialise in timber framed ,clay lump and flint building of which there are a suprising number surviving in this area. Bruce and Luke have championed these buildings which have suffered in many cases irreparable damage .Neglect, the application of modern cements and gypsum plasters have let to the near disintergration of timber frames and the clay daub/cob which form the walls. During the last few decades in the mistaken notion that Portland cement renders would provide a protective coating, sussessive builders have, perhaps unknowingly trapped damp.  Unable to dry out this causes rot in the age old timbers disolving the clay which has been the construction material of these buildings for hundereds of years   

The style of the timber framed building is the classic English venacular so loved by the people of these isles. A major influence of on much  of British archtectual history  in particular the Arts and Crafts movement.

This style is our own ,not dictated by Roman and Greek classicism but built with English Oak ,flint hazel wattles and clay daub.If one of these buildings was in the USA it would have a theme park built to it. 


flint thatched cottage in Norfolk


scratch coat applied over flint wall

Knapped flint panel left to show construction

finished Haired chalk plaster


Niches in flint wall finished with chalk lime mix

Wednesday 18 September 2013

Limehouse blues


This is a private house in Limehouse East London. I had carried out lime plaster repairs to the hallway of the house and I suggested to the client that she tried a lime plaster technique I have been working on for some time.It is based upon traditional lime plaster stucco materials. I did not want to use acrylics as a binder which tends to be the case with many of the polished plaster products.I managed to produce a very usable lime plaster finish which mixed with earth pigments, in this case cobalt blue and ultra marine blue takes a fine polish with a trowel and can be layed smooth or textured .Since it contains no acrylics or fungicides, or mff balances or suspension agents it is relatively inexpensive to produce and it is great to make a material  that you know is not costing the earth


Textured blue lime plaster


polished lime textured finish


Textured natural lime plaster finish


other colours using natural pigment


Londonheritageplastering.weebly.com


Tuesday 9 July 2013

Finishing Lime Plaster in Italy June 2013 

This June I returned to the Italian countryside to finish the lime top coats.It seems like a great thing to do but I spent most of the time inside trowling up plaster.I got the lime putty locally the most difficult thing was to get a suitable sand for the finish coat.The background had hardened sufficiently for me to get a really good finish smooth but not flat.leaving the walls not straightened was a good idea since it left some great shapes.I left out some stones either because they were sticking out too far or because they looked great or they were so smooth the plaster would not stick well. Once the plaster dries it will be painted with a breathable paint or a limewash. otherwise it  will be a bit of a waste of time lime plastering it    

Doorway plastered floor to ceiling
Oak shelves plastered in


Open doorway


Stone left exposed you got to do something for stone masons


lovely shapes dont know how they will fix skirting


barreled ceiling 


New window made by me so dont look too close


Finished barreled ceiling 

late night working

some compensation

sunset over the mountains back to the grind

Phil Bailey londonheritageplastering.weebly.com                            07787157865


Monday 13 May 2013

The Peoples' Heritage


Lime plasterwork in Limehouse 

Lime plaster in hallway


poor surface of  plaster top coat 


This is a house built in 1830 in London's historic Limehouse. The area got its name from the lime kilns built on the shore of the Thames to the east of the city serving the pottery industry. In many ways Limehouse has mirrored the development of London as a port, an industrial and commercial centre but perhaps its most interesting stories are about its people.The London dockers and  international seafarers this part of London has always attracted people from all over the globe in search of a new life  A history of poverty, struggle, hope and vision From battles in its streets to the birth of radical politics Grinding poverty living alongside vast wealth This house has borne witness to a real slice of the peoples' Heritage


The job involved repairing the lime plaster on the interior of the house.This always presents us with the problem, we need to conserve as much of the existing work while leaving the client with a practical liveable space.The walls and ceilings were in a very poor state in particular the top coat of plaster ,however the backing or floating coat was still attached in most areas and was mainly sound. So the solution was to repair any backing coats using haired lime plaster and to apply a breathable lime based priming coat and then re-apply the finishing coat of lime plaster.There are products available for this use but they are on the whole acylic based and that seems to defeat the purpose of a  lime plaster so we made up a natural breathable adhesive and it works  very well saving the existing plaster and saving money

         I am wasted really: saving the planet  saving people money 

We applied a mixture of lime putty and aggregate as the top coat and we used no gypsum to gauge with the mix. It is more than likely however that the original work was gauged, since the mouldings were gypsum and lime run and cast 

Lower down on the page you can see some examples of the plaster mouldings Where the cornice has been cleaned (not by us) you can clearly see the process of a gelatine insertion moulding. a common technique used for plasterwork before the advent of fibrous plaster.

There is something about this house which leads me to believe it was possibly redecorated with plaster mouldings at a latter date. According to local records it was built in 1830 but the mouldings seem a bit out of place since they seem to be typical of a latter more elaborate Victorian style.  I could be wrong ,my wife and kids seem to think I am wrong all the time but thats another story.

Note the shite modern ceiling rose replacement 


original lime plaster with top coat in poor condition


1830s scratch coat


We filled in any holes in the backing/float coat and applied the primer


primer applied to ceiling and walls


Finished hallway ceiling


soffit of stairs


beautiful lime plaster finish to stairway


Above are examples of the plaster mouldings If you look carefully  you can see the process involved


Friday 4 January 2013

Internal lime plasterwork in Italian farmhouse

Internal lime plasterwork in Italian farmhouse

Over the last couple of weeks we carried out the application of the first coats of lime plastering in this farmhouse in the Italian countryside.The background was a mixture of stone work and rubble layed in lime mortar .The lime seems to have been made locally ,much of it can be seen to have large lumps of unmixed lime among the different aggregates some of which seem to have been sands and some of which were what  I imagine to be local clays /earth.The structure of the stonework itself although old and seemingly haphazard was constructerd as I have seen many times with  large stones and large mortar joints with small stones and brick used as infill in these joints.
We inspected the existing mix and although it would be good to get it analysed, there is no way we could replicate this exact mix so we used a lime putty and sand mix. I think the aim here was to try to apply a functional material, meaning that the plasterwork was compatable with a lime mortar background, flexible and breathable as well as being aesthetically pleasant.
We first applied a scatch coat to cover the whole area.We used a combination of the Italian method of throwing the mortar on the wall where the wall had big hollows and applying the material using the laying on trowel where the wall was flatter thereby doing our bit for European harmony and I like to think for world peace There was very little suction on the stonework so we waited some days for the mortar to harden/carbonate naturally.This was not really a huge problem since there was quite a large area to do.
After several days and a break to prune and feed some olive trees a new experience for a Londoner  we applied a second or float coat. We did not try to straighten the walls, mainly because they were impossible to plumb up(there is only so much lime and sand in the world) and also to respect  tradition .This was a canteen area where wine was made ,animals kept meat cured and a style of life lived for hundereds of years.We left the walls showing their shape and tried to keep things like nitches intact. We also left the old timber lintels exposed  We floated up the work using small hand made floats leaving it consolidated ready for a top  or stucco coat at a later date once the background has had a chance to carbonate
In the end the weather changed and fortunately we had finished what we had to do so we will return and put on the top coat later in the year


The old church serving a population of about 15


existing stonework  note the rubble infills


sharp sand and much better shovel no backache with this model 


mortar mix


First coat: note the two methods of application for different backgrounds
I should be made UN Secrectary General for my contribution to world peace


one for the stonemasons  

one for the plasterers


agricultural work


up you go


pruning  olive  trees 


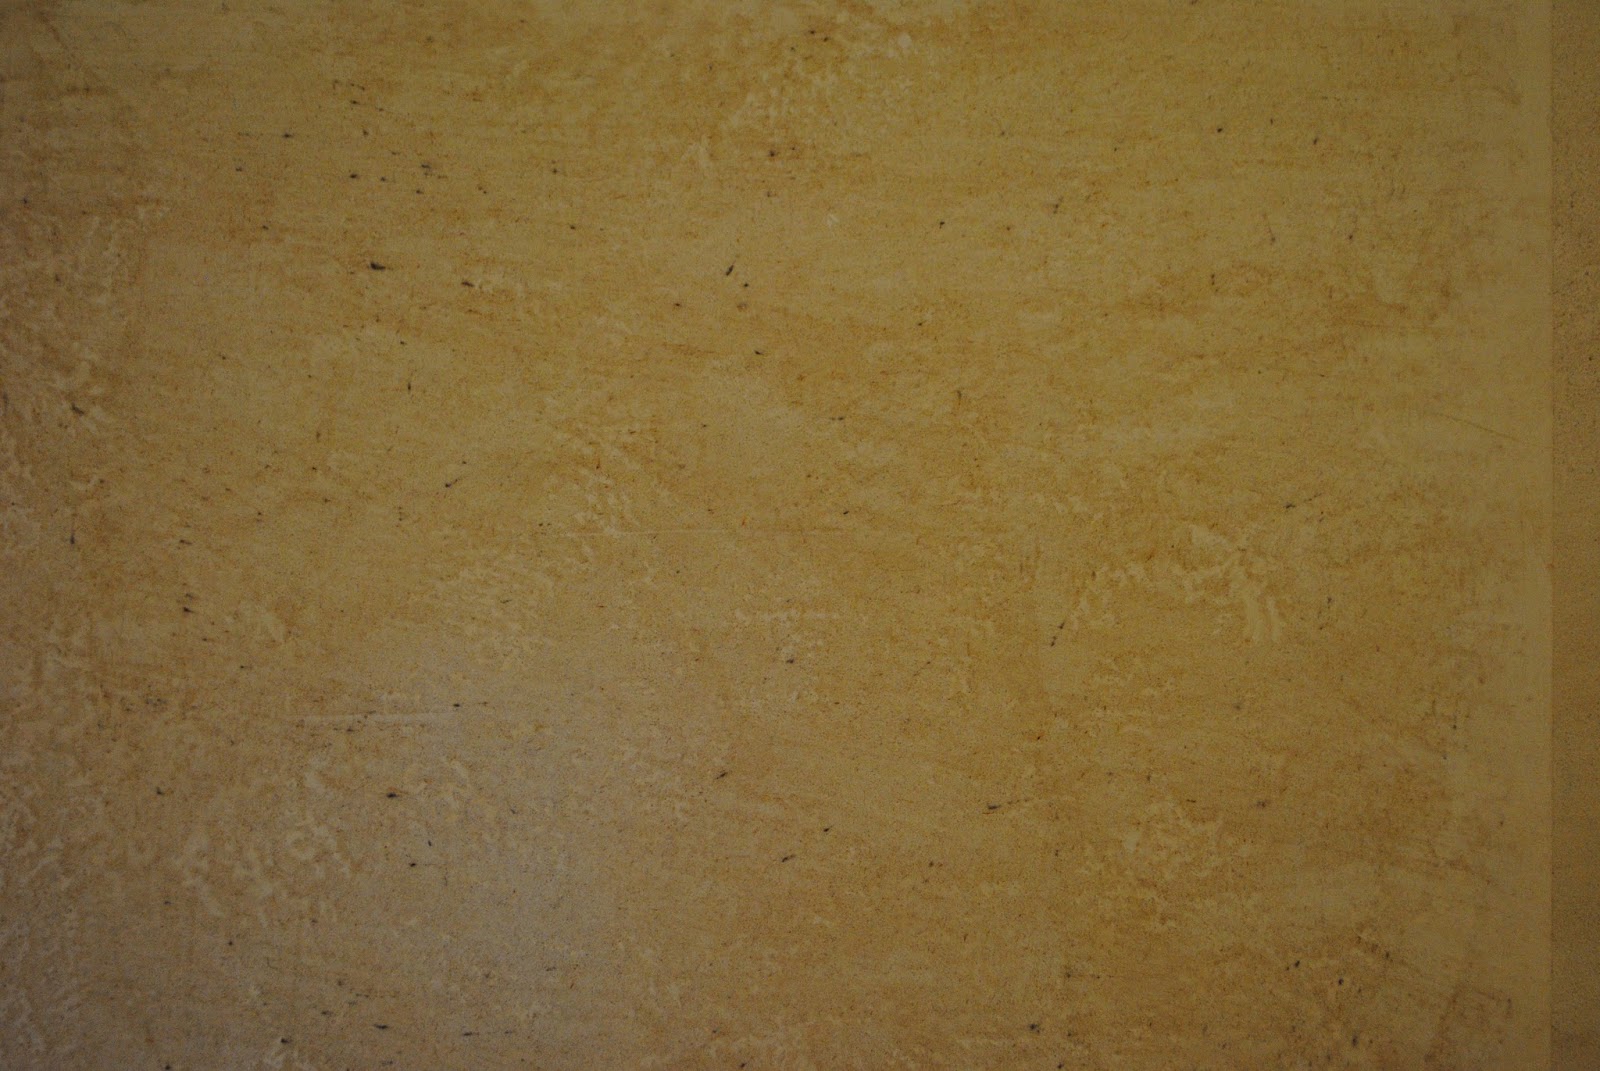
If you look closely you can see the lumps of unmixed lime
in the existing mortar


application of scratch coat

mortar 


scratch coat applied and left to harden


float coat applied and left for top or stucco coat


scratch coat

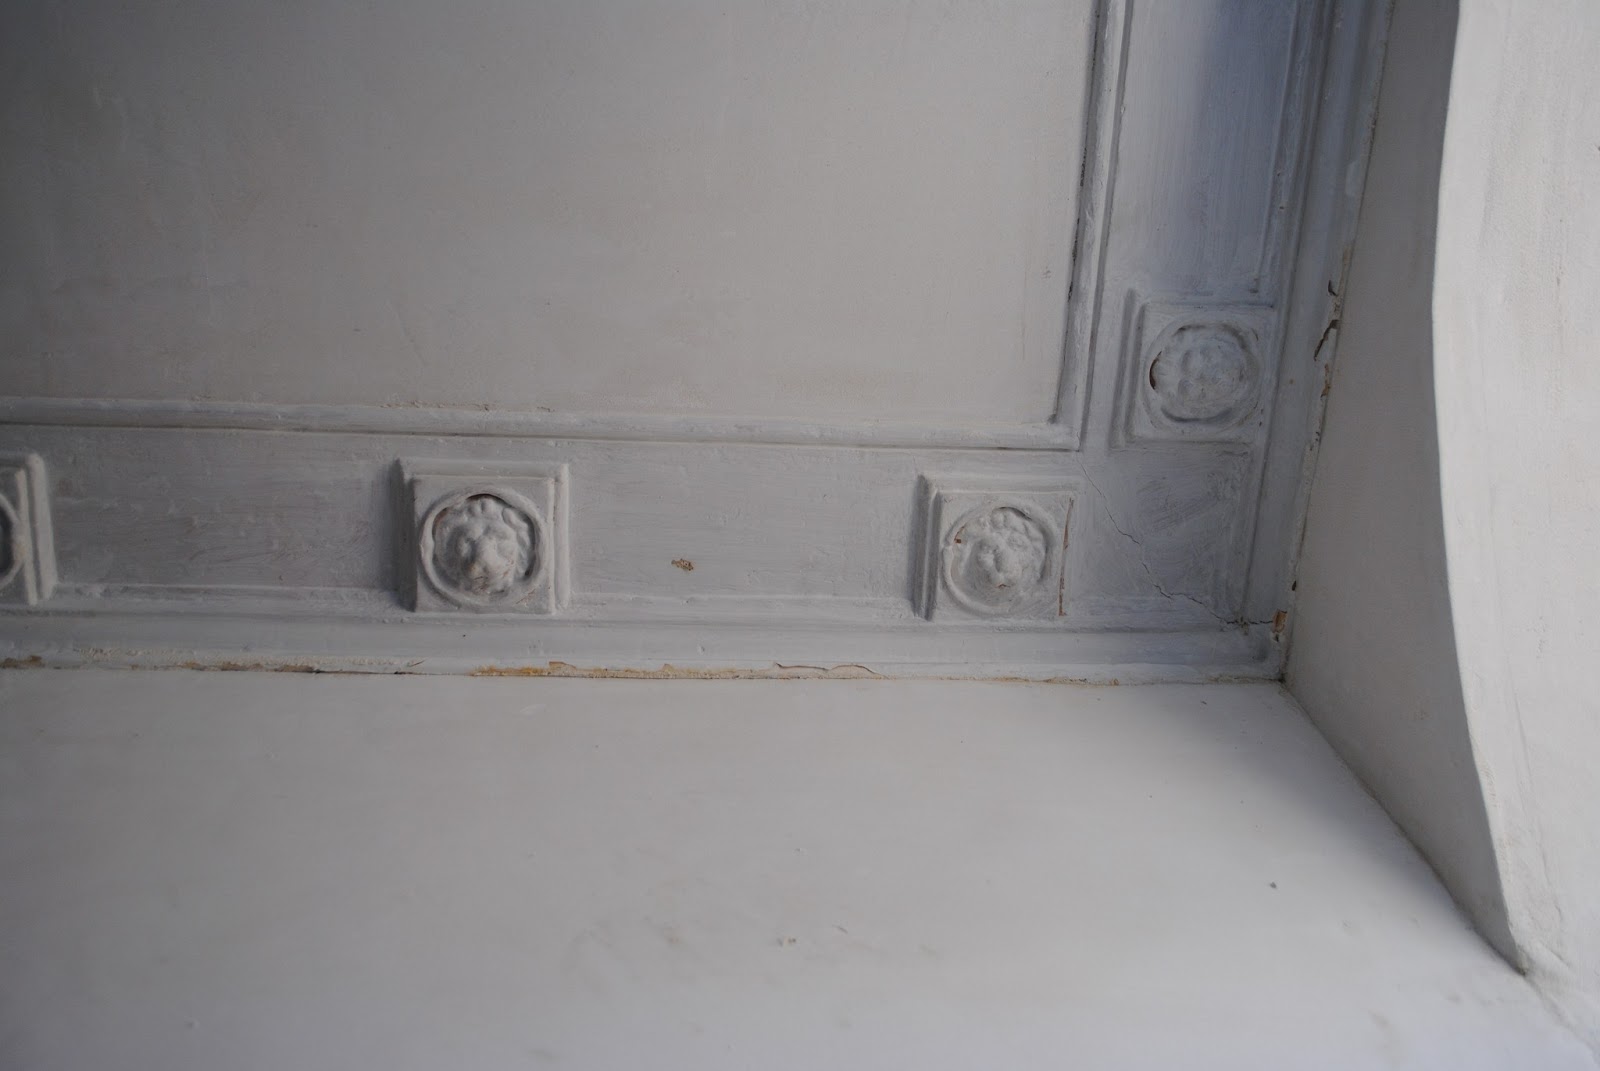
walls floated and timber lintels left exposed

thats the end of that as the weather changes


traditional vaulted ceiling over an open archway


we will be back when the weather changes


Lime plastering in Italy
This is a 300 year old property   in the Italian countryside (although in fairness nobody seems too certain, just that "it is very old ,who knows?") The ground floor has been used traditionally for keeping animals making wine and smoking meat.The existing plaster is a lime mortar and where possible it is being saved, altough it was in quite a bad state of repair.The lime was very possibly burnt and slaked locally, much of it had lumps of white improperly slaked lime.It had however lasted the test of time.There was a history of farmers in the uk burning lime and that was probably the case in rural Italy
Over the next couple of weeks we will make a start on applying a lime mortar,We intend to follow the contours of the stone and rubble walls and in a few places to float the walls to a true finish where appropriate
The existing mortar contained small regular sized twigs as we would use animal hair to bind the mortar.We will be using animal hair if we can find a decent supply

stone walls  note the existing lime plaster at the top of  the wall


brick infills built with lime mortar and poorly
covered with cement render
thats coming off


mixed backgroung with niche


area to be plastered

note the very unstable stonework on the right which must
be repaired before plastering